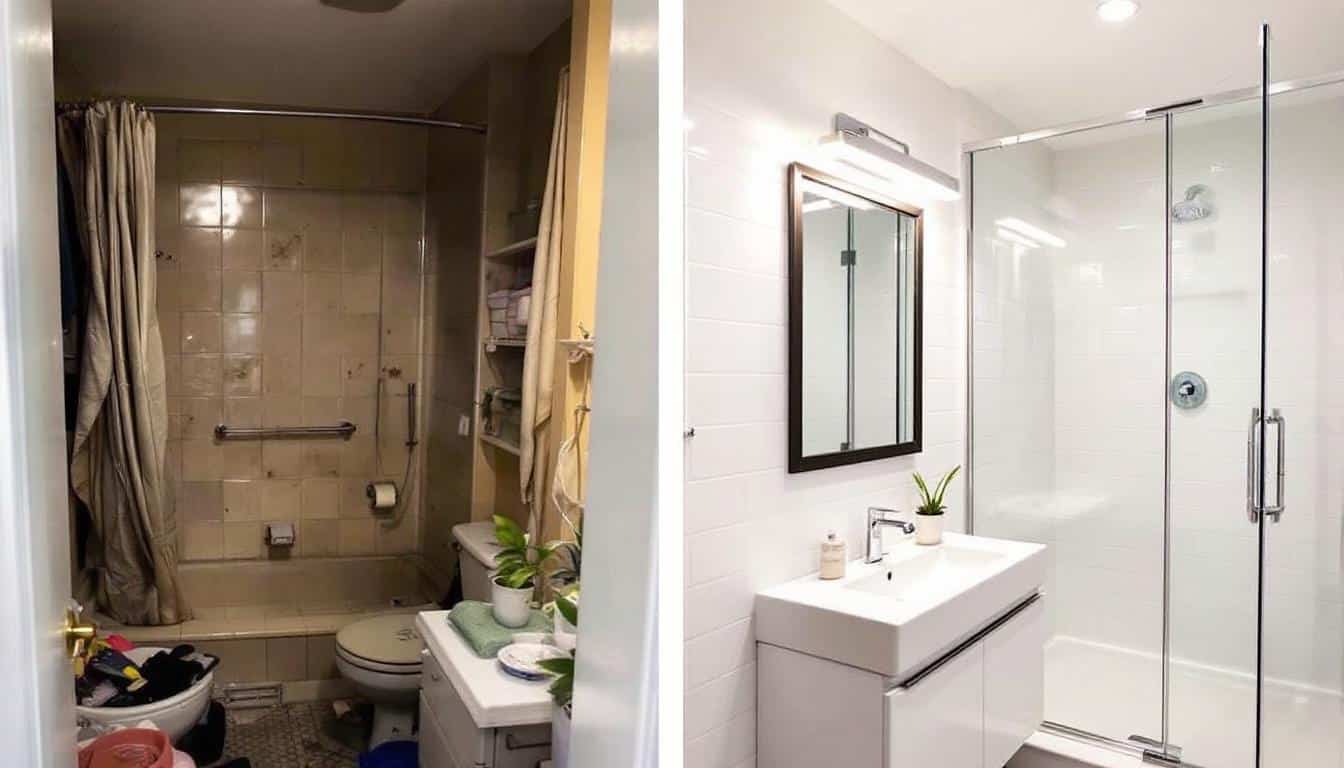
How to Transform Your Small Bathroom: Before and After
Small bathrooms can be challenging, but they’re not impossible to transform. At Cameron Construction, we’ve seen countless small bathroom remodels before and after, and the results are always stunning.
With the right design strategies and clever solutions, you can turn your cramped space into a functional and stylish oasis. In this post, we’ll share our top tips for maximizing every inch of your small bathroom, along with real-life transformation examples to inspire your own renovation project.
Planning Your Small Bathroom Transformation
Measure Your Space Accurately
Start your small bathroom transformation by taking precise measurements. Record the dimensions of your space, including the positions of windows, doors, and existing plumbing. Don’t overlook the ceiling height – vertical space often holds untapped potential in compact bathrooms. Accurate measurements will help you visualize potential layouts and avoid costly mistakes during renovation.
Identify Your Priorities
Create a list of must-haves and nice-to-haves for your bathroom. Ask yourself: Do you need more storage? Is a bathtub essential, or can a shower save space? Make tough decisions – in a small bathroom, every centimeter counts. Your choices will shape the final design and functionality of your space.
Establish a Realistic Budget
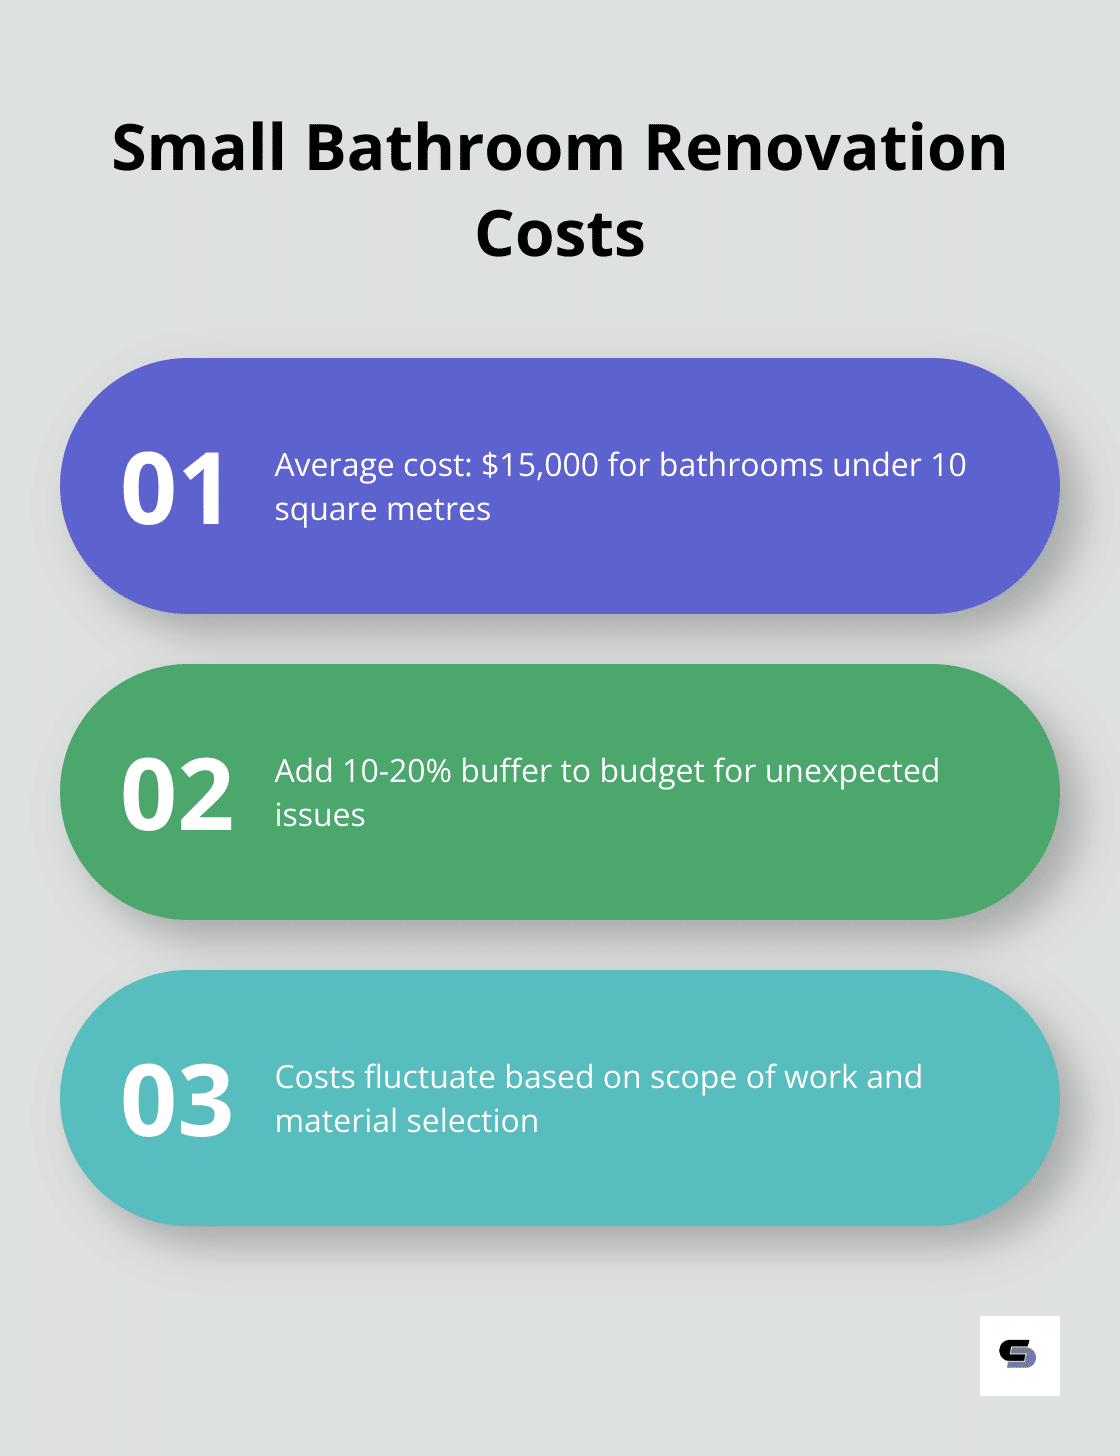
Small bathroom renovations in Melbourne typically cost an average of $15,000 for bathrooms less than ten square metres in size. However, costs can fluctuate based on the scope of work and material selection. Add a 10-20% buffer to your budget for unexpected issues (they’re common in bathroom renovations, especially in older homes).
Plan Your Timeline
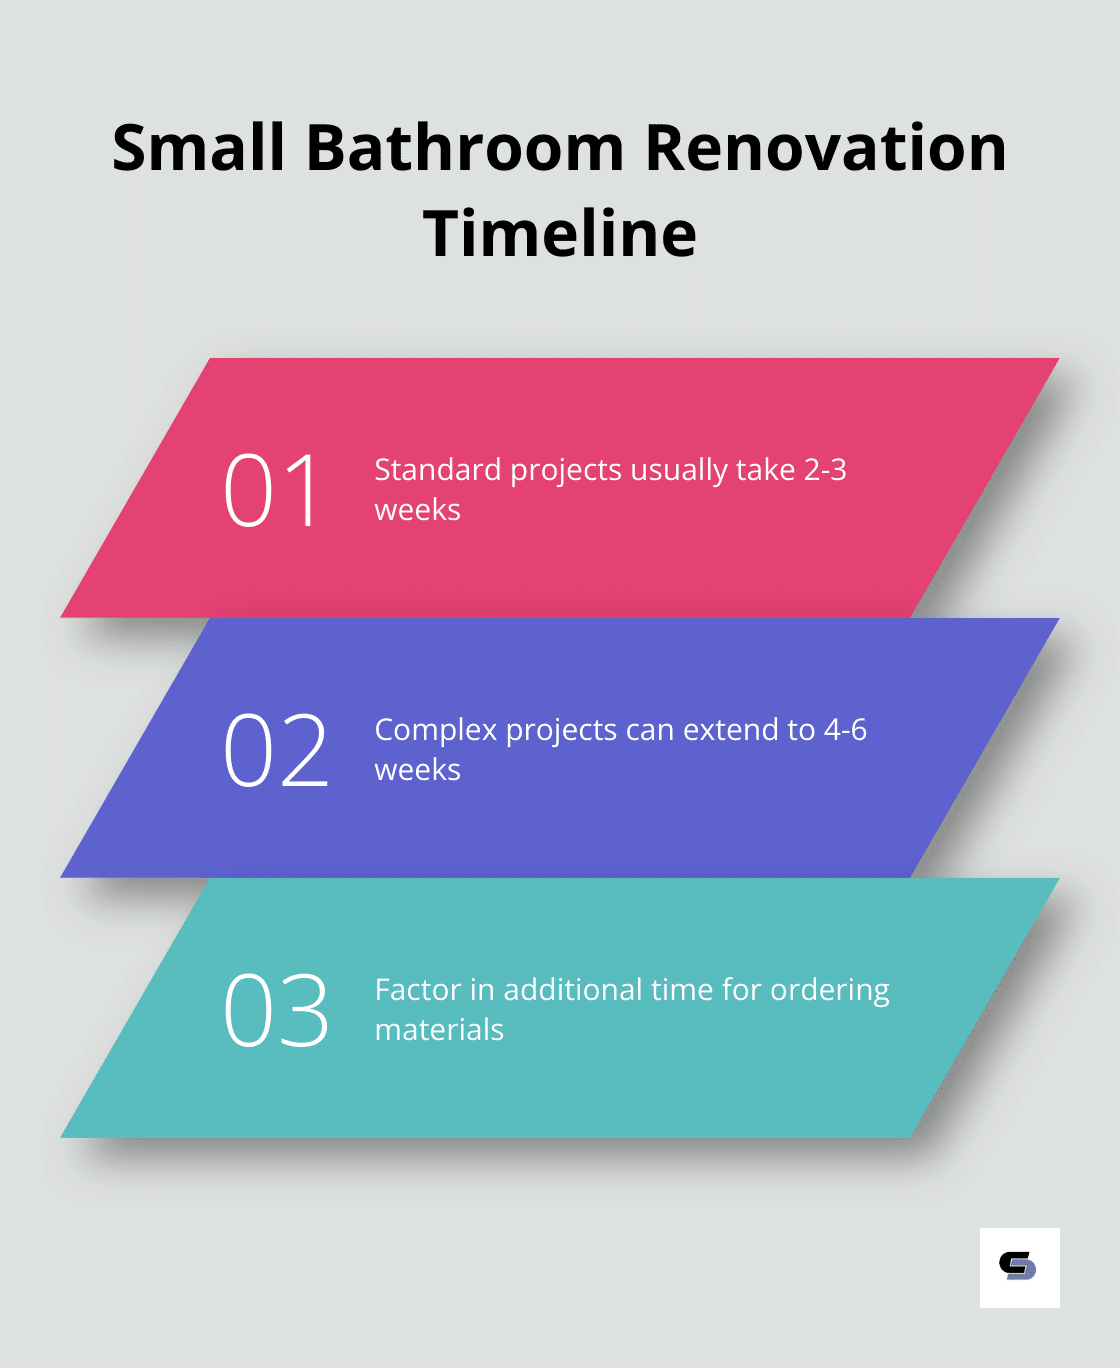
A small bathroom renovation usually takes 2-3 weeks, but complex projects can extend to 4-6 weeks. Factor in time for ordering materials, particularly if you’re selecting custom items. Construction projects often face delays, so build some flexibility into your schedule.
Select Space-Maximizing Designs
Choose designs that visually expand your bathroom. Light colors, large mirrors, and effective lighting can create an illusion of space. Consider a floating vanity to free up floor area, or a corner sink to optimize every inch. Glass shower screens can help open up your bathroom in a way that no other design feature can, making the room feel more spacious.
With careful planning and smart design choices, you can transform even the tiniest bathroom into a functional and stylish oasis. Now, let’s explore some innovative space-saving ideas that will help you make the most of your compact bathroom.
Space-Saving Tricks for Small Bathrooms
Small bathrooms don’t have to feel cramped. Smart design choices can create a spacious and functional oasis. Here are proven strategies to maximize your bathroom’s potential.
Vertical Storage Solutions
When floor space is limited, look up. Install floating shelves above the toilet or along empty wall spaces. These provide ample storage without taking up precious floor area. For a sleek look, consider recessed cabinets. They offer storage without protruding into the room, maintaining a clean, uncluttered appearance.
Space-Efficient Fixtures
Wall-mounted toilets transform small bathrooms. They can remove up to 12″ from the toilet’s footprint, freeing up floor space and simplifying cleaning. Corner sinks utilize often-wasted corner areas effectively. For showers, frameless glass enclosures create an open feel and are easier to clean than traditional curtains.
Visual Space Enhancement
Large mirrors are essential in small bathrooms. They reflect adjacent walls, furniture, or architectural features, giving the illusion of more space and making compact areas feel larger. Consider a full-wall mirror or a uniquely shaped one for added interest. Pair this with bright, layered lighting to eliminate shadows and make the room feel larger.
Light colors on walls and floors also help expand the space visually. White, cream, or pale grey can make your bathroom feel more open and airy. If you want to add color, do it through accessories or a feature wall.
Smart Layout Planning
Optimize your bathroom layout to maximize space. Place the toilet and sink on the same wall to consolidate plumbing (which can save on renovation costs). Try a corner shower to free up central floor space. Consider a sliding door instead of a traditional swinging door to save valuable square footage.
Multi-Functional Elements
Incorporate elements that serve multiple purposes. A mirror cabinet combines storage with reflection. A shower niche eliminates the need for a bulky caddy. A vanity with built-in storage reduces clutter and maximizes space efficiency.
These space-saving strategies can transform even the tiniest bathroom into a functional, stylish retreat. Every centimeter counts in a small bathroom, and with careful planning and smart design choices, you can create a space that feels much larger than its actual dimensions. Now, let’s explore real-life examples of small bathroom renovations to inspire your own renovation project.
Real Small Bathroom Transformations
At Cameron Construction, we’ve witnessed numerous small bathroom makeovers. Let’s explore three real-life transformations that showcase clever design solutions and practical tips for your own renovation project.
Vertical Victory in a Narrow Space
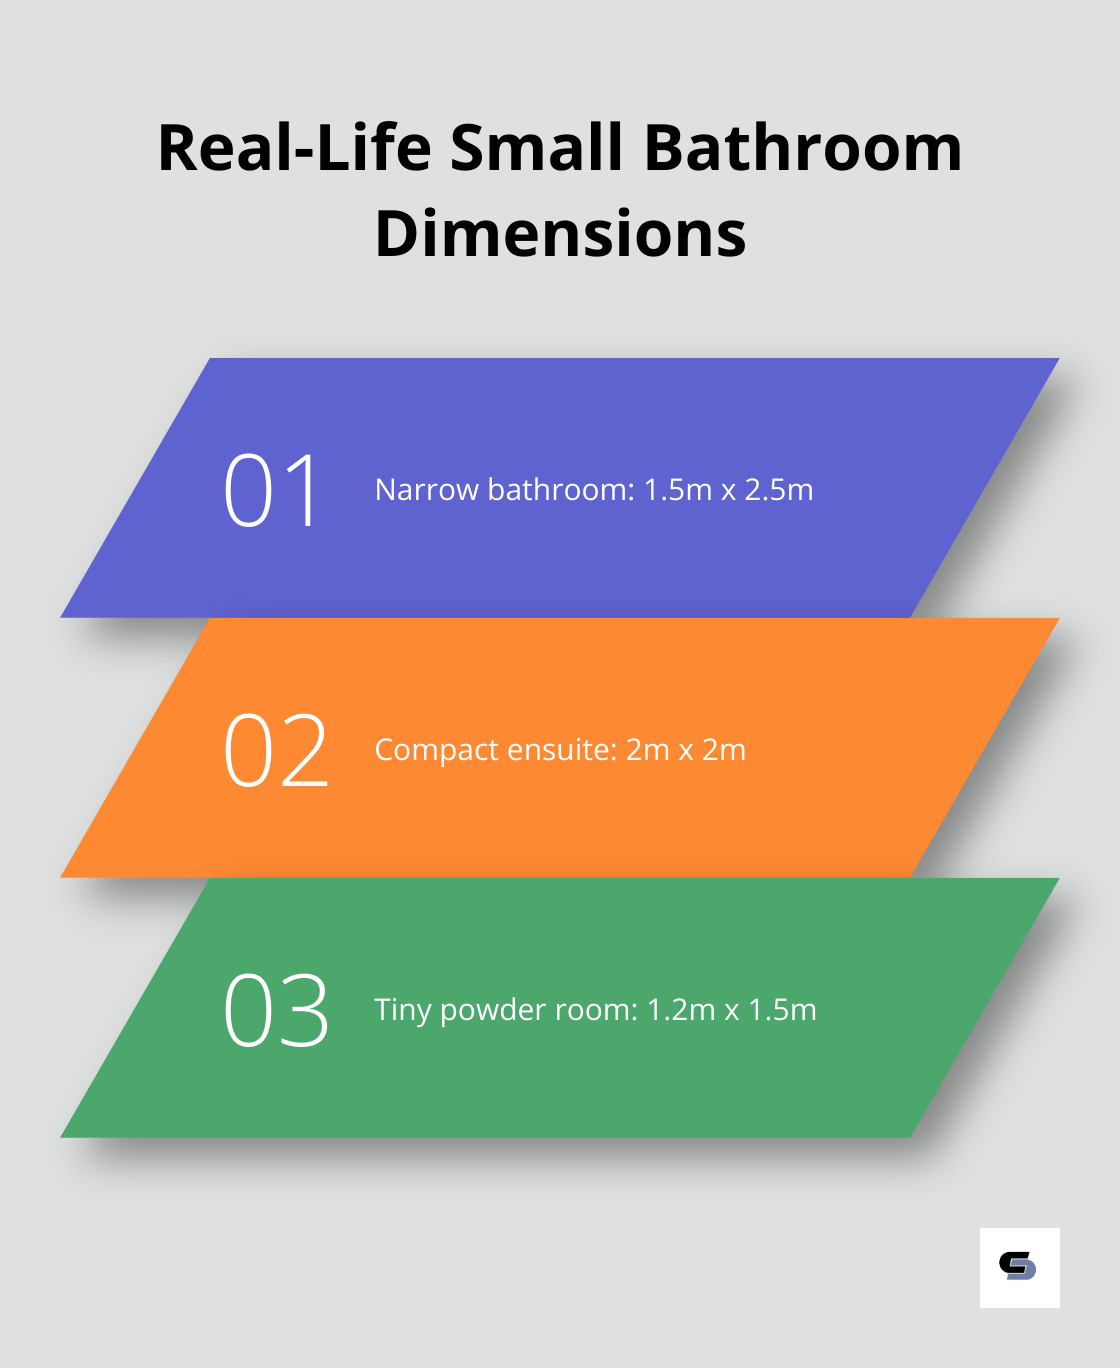
A client approached us with a narrow bathroom measuring just 1.5m x 2.5m. The challenge? Create a functional space without a claustrophobic feel. We focused on vertical storage and smart fixture choices.
We installed a wall-mounted toilet, which freed up floor space and simplified cleaning. A tall, slim cabinet replaced the bulky vanity, providing ample storage without crowding the room. The showstopper was a floor-to-ceiling mirror that visually doubled the space.
For the shower, we chose a frameless glass enclosure with a sliding door. This choice saved space and created an open feel. We added a recessed niche for toiletries (eliminating the need for a shower caddy).
The result? A bathroom that feels twice its size, with every centimeter utilized effectively.
Spa-Like Serenity in a Compact Ensuite
Another client dreamed of a luxurious spa-like retreat in their 2m x 2m ensuite. We proved that small doesn’t mean sacrificing style or comfort.
We started by removing the bathtub and installing a walk-in shower with a rainfall showerhead. This instantly opened up the space. A floating vanity with built-in LED lighting added a touch of luxury while maintaining an airy feel.
To create a spa atmosphere, we used large-format tiles in a soft, warm grey. These larger tiles meant fewer grout lines, making the space feel bigger and easier to clean. A heated towel rail added both functionality and a touch of indulgence.
The pièce de résistance was a skylight, which flooded the room with natural light and created a connection with the outdoors. This simple addition transformed the feel of the entire space.
Modern Makeover for a Dated Powder Room
Our third project involved modernizing a tiny 1.2m x 1.5m powder room stuck in the 1970s. The key was to maximize functionality without overwhelming the small space.
We replaced the dated pedestal sink with a corner unit, which freed up precious floor area. A large, round mirror above the sink reflected light and created the illusion of more space.
For storage, we installed floating shelves in an otherwise unused corner. These provided a spot for hand towels and decorative items without cluttering the room.
The biggest impact came from the walls. We used a bold, large-scale wallpaper on one wall, creating a focal point that drew the eye away from the room’s size. We painted the remaining walls in a light, complementary color to maintain brightness.
Lighting played a crucial role in this transformation. We installed LED strip lighting under the floating shelves and a statement pendant light (creating layers of illumination that made the space feel larger and more inviting).
These real-life transformations demonstrate that creative thinking and smart design choices can turn even the smallest bathrooms into functional, stylish spaces.
Final Thoughts
Small bathroom transformations can yield impressive results, as evidenced by the numerous “remodel small bathroom before and after” projects we’ve completed. These compact spaces hold immense potential for improvement through clever storage solutions, space-saving fixtures, and optical illusions that create a sense of openness. Our real-life examples showcase how even the tiniest bathrooms can become functional and stylish oases with the right approach.
Smart design choices and creative thinking are essential when renovating a small bathroom. Prioritize your needs, utilize vertical space, opt for multi-functional elements, and harness the power of light and mirrors to maximize your bathroom’s potential. Every centimeter counts in a small bathroom renovation, so make each decision count.
At Cameron Construction, we specialize in transforming cramped, outdated bathrooms into beautiful, functional spaces. Our team of experts (with over 40 years of experience in home renovations) can guide you through every step of the process, from initial design to final execution. Don’t let a small bathroom hold you back from creating the home of your dreams – take the first step towards your bathroom transformation today.